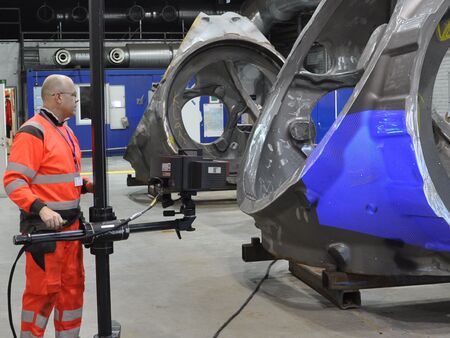
Measurement of wind turbine castings
Zebicon conducts 3D measurements of wind turbine hubs.
ATOS 3D scanning is frequently used in the wind turbine industry, as the complex geometric shapes and fine tolerances of castings make traditional quality control using measuring tape, vernier caliper or other handheld measurement tools insufficient.
Problem
Zebicon went to Sweden to measure four wind turbine hubs. A complete surface scan of the parts was made and afterwards data was compared to the CAD part. To carry out the measurement, 3D scanning was done with ATOS Triple Scan in a combination with the optical coordinate measurement system TRITOP CMM.
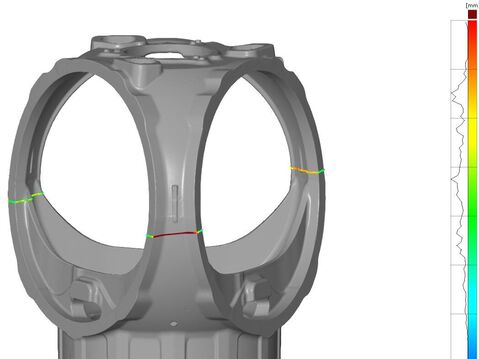
One of the purposes of the scanning was to inspect if displacements occurred and whether the material thickness was consistent with the CAD part. Displacements directly affect the part’s overall tolerance and the material thickness is important in relation to the part’s strength and weight.
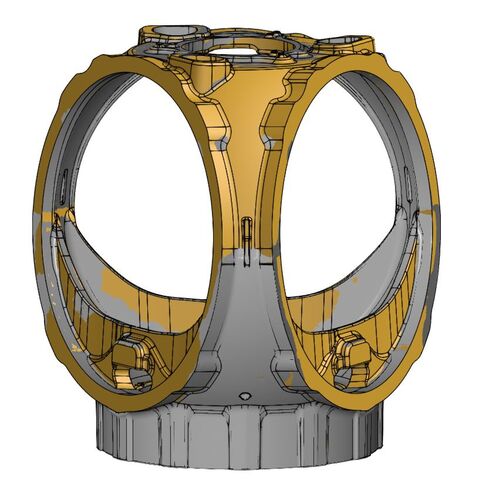
The scans should also clarify if there was sufficient processing material on the surfaces. Surfaces and geometries for alignment in the CNC machine were also checked to avoid any displacements during CNC machining.
Solution
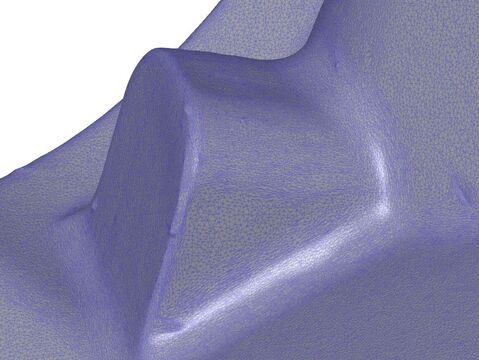
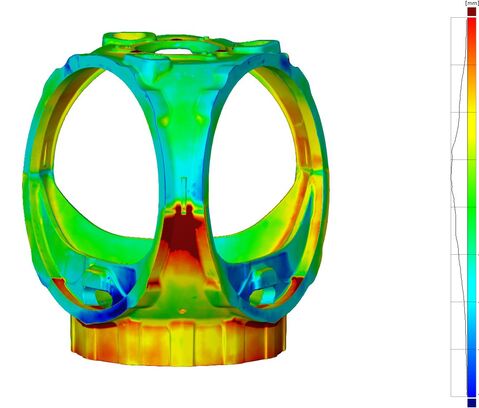
Two Zebicon metrologists spent three days on solving the task. Using 3D scanning, a complete surface model was created to document the part’s geometries in detail. The measurement of the casted wind turbine hubs resulted in a 3D polygon model, which was used to analyze the hubs. The data was compared to two different CAD parts; the processed part and the one with calculated processing material. A color comparison revealed visually if the tolerances were met or how much they deviated.
Why is 3D scanning ideal for casting?
With 3D scanning, the surface geometry of the casting is digitized in high resolution and with high precision. Among other things, collected data can be used as a basis for reconstruction of parts, documentation of a well-functioning part or analysis and quality control.
3D scanning is an ideal technology for the casting industry and is used in several stages of the production process. From CAD design and development to inspection of cores, moulds, and scanning of sand cores and moulds. The complete surface geometry reveals unknown errors in the process, such as suctions, warpage and displacements.
3D scanning is a technology, which can create a digital 3D model of a physical part. The technology is primarily used for reverse engineering or quality control and part measurement.

